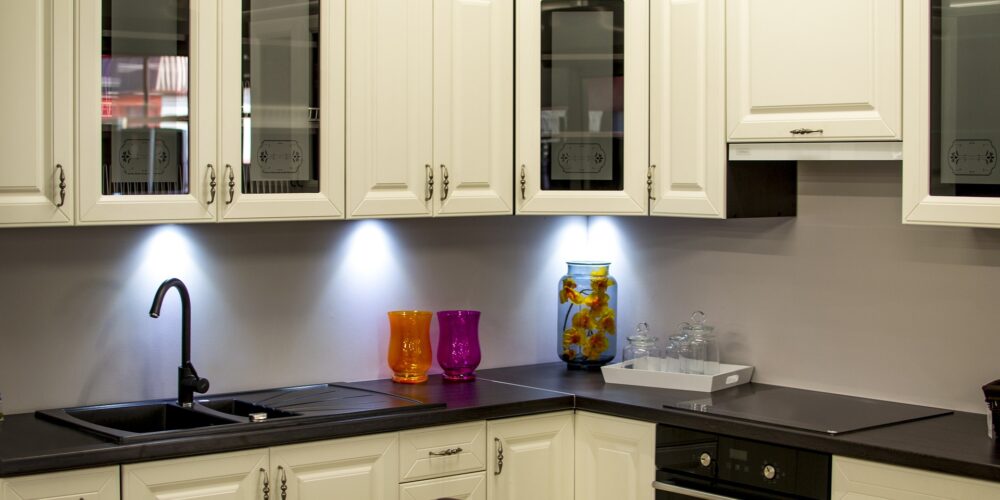
Transform Your Kitchen: Step-by-Step DIY Cabinet Painting Techniques
Updating your kitchen cabinets with a fresh coat of paint is a cost-effective and transformative DIY project. Cabinet painting allows you to revitalize the look of your kitchen and breathe new life into your space without the need for a complete renovation. In this blog post, we will explore the essential DIY cabinet painting techniques to help you achieve professional-quality results and create a kitchen that feels brand new.
Preparing the Cabinets: Proper preparation is key to a successful cabinet painting project.
Follow these steps to get your cabinets ready for paint:
a) Remove all cabinet doors, drawers, and hardware. Label each piece to ensure easy reassembly.
b) Clean the surfaces thoroughly to remove grease, grime, and dirt. Use a mild degreasing cleaner or a mixture of vinegar and water.
c) Sand the cabinet surfaces lightly with fine-grit sandpaper to create a smooth and paint-friendly surface. Wipe away any dust with a clean cloth.
d) Fill any dents, holes, or imperfections with wood filler and sand the patched areas until they are flush with the rest of the surface.
Choosing the Right Paint: Selecting the right paint is crucial for achieving a durable and professional finish.
Consider the following:
a) Opt for high-quality paint designed for cabinets. Semi-gloss or satin finishes are ideal, as they are easy to clean and offer a smooth appearance.
b) Water-based paints are typically more user-friendly, with low VOCs and quick drying times. They are also easier to clean up.
c) Consider using a paint sprayer for a smoother and more even application, but a high-quality brush and foam roller can also deliver excellent results.
Applying the Paint: When it’s time to paint, follow these steps for a smooth application:
a) Start with the cabinet frames, using a brush to apply the paint in even strokes. Work from the top down, ensuring an even coat.
b) Use a foam roller to paint larger, flat surfaces for a streak-free finish.
c) Apply multiple thin coats of paint, allowing each coat to dry completely before adding the next layer. This prevents drips and ensures a durable finish.
d) If using a paint sprayer, follow the manufacturer’s instructions for the best results. Apply thin coats and maintain a consistent distance from the surface to avoid uneven application.
Finishing Touches: After the paint has dried, reassemble the cabinets and add the finishing touches:
a) Install new cabinet hardware or reuse the existing hardware after cleaning and polishing it.
b) Adjust the cabinet doors and hinges as needed for proper alignment and smooth operation.
c) Consider adding a clear protective topcoat for extra durability and to protect the paint from wear and tear.
Conclusion
DIY cabinet painting can completely transform the look of your kitchen and give it a fresh, updated appearance. By following these DIY cabinet painting techniques and taking the time to prepare the surfaces properly, select the right paint, and apply it with care, you can achieve professional-quality results and enjoy a beautiful and revitalized kitchen space. With a little effort and creativity, your DIY project will leave you with cabinets that look as good as new, without the cost and hassle of a full renovation.
